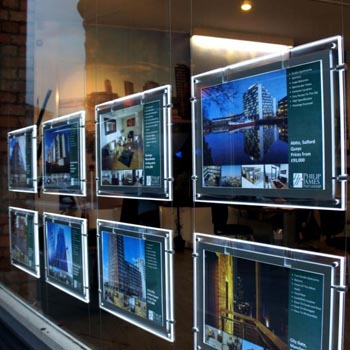
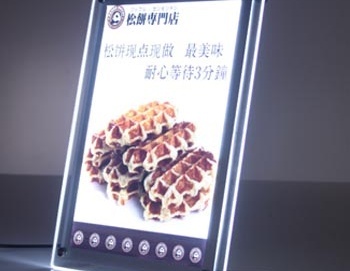
Wire cable LED window displays are an excellent way to showcase advertisements, listing ,menu or special offer for real estate agent. They can be hung wall to wall ,ceiling to wall ,store window etc .
Such sleek, modern design and bright LED illumination make your graphics ,information highly effective for attracting attention.
Installing a wire cable LED window display enhances the visual appeal of any storefront, making advertisements and promotions stand out. With proper planning, accurate installation, and attention to detail, you can achieve a stylish and effective display that draws customers’ attention.
To installe these led window displays requires careful skills to ensure stability, safety, and a professional appearance. In this guide, we’ll walk you through the step-by-step process of installing a wire cable LED window display.
Installation Tools and Materials Needed
Before starting, gather the following tools and materials:
1.Wire cable LED display panels
2.Ceiling and floor mounting brackets
3.Steel support cables
4.Power transformer and connectors
5.Screws and wall plugs
6.Measuring tape
7.Drill and screwdriver
8.Wire cutters and pliers
Step 1: Plan the Display Layout
Firstly ,you need to measure and know how many led panel do you want to suspend on your place , and determine their arrangement (single column, multiple rows, or grid layout).
Secondly ,measure the window space and mark the positions with pen or chalk where the cables will be installed.
Thirdly ,since the wire cable led window displays are powered by electricity ,so the suspended led window displays should be installed nearby power supply for LED panel connections.
Step 2: Install the Ceiling and Floor Brackets
A. When the place are determined ,then use a measuring tape and level, mark the exact positions for the ceiling and floor brackets.
B. Drill holes and securely fasten the brackets with screws and wall plugs.
C. Make sure the two brackets are perfectly aligned for a stable and straight installation.
Step 3: Attach the Cables Steel Rope
- When you install the bracket ,then insert the steel cables into the ceiling brackets and pull them tightly.
- Pull the cables downward, make sure they the led panel straight and taut.
- Fix the wire cables into the floor brackets and tighten them securely.
It is better double-check cable tension to prevent sagging.
Step 4: Install the LED Display Panels
- Attach the LED display panels to the wire cables using the clamps or mounting brackets provided.
- Start from the top and work your way down, secure each panel evenly spaced.
- a level to ensure proper alignment for a professional look.
Step 5: Connect the Power Supply
Last but not least ,when the wire cable hanging system are installed well ,don’t forget to connect the LED panels with the power transformer . It is the fact that the wire cable hanging window display look not so nice if the wire cable appear on the light box frame ,so remeber to hide all of cable wire behind the light box frame for a neat appearance.
Then plug on the transformer and test the wire cable window display to confirm all panels light up correctly.
Step 6: Final Adjustments and Safety Check
Inspect the installation to ensure all panels are secure and aligned.
Tighten any loose connections or cables.
Clean the display panels for a polished, professional finish.
Ensure the wiring is safely concealed to avoid tripping hazards.
We are professional bakclit display manufacturer for many years . if you have any question on led light box ,welcome to contact us .
Talk with our expert today .


